
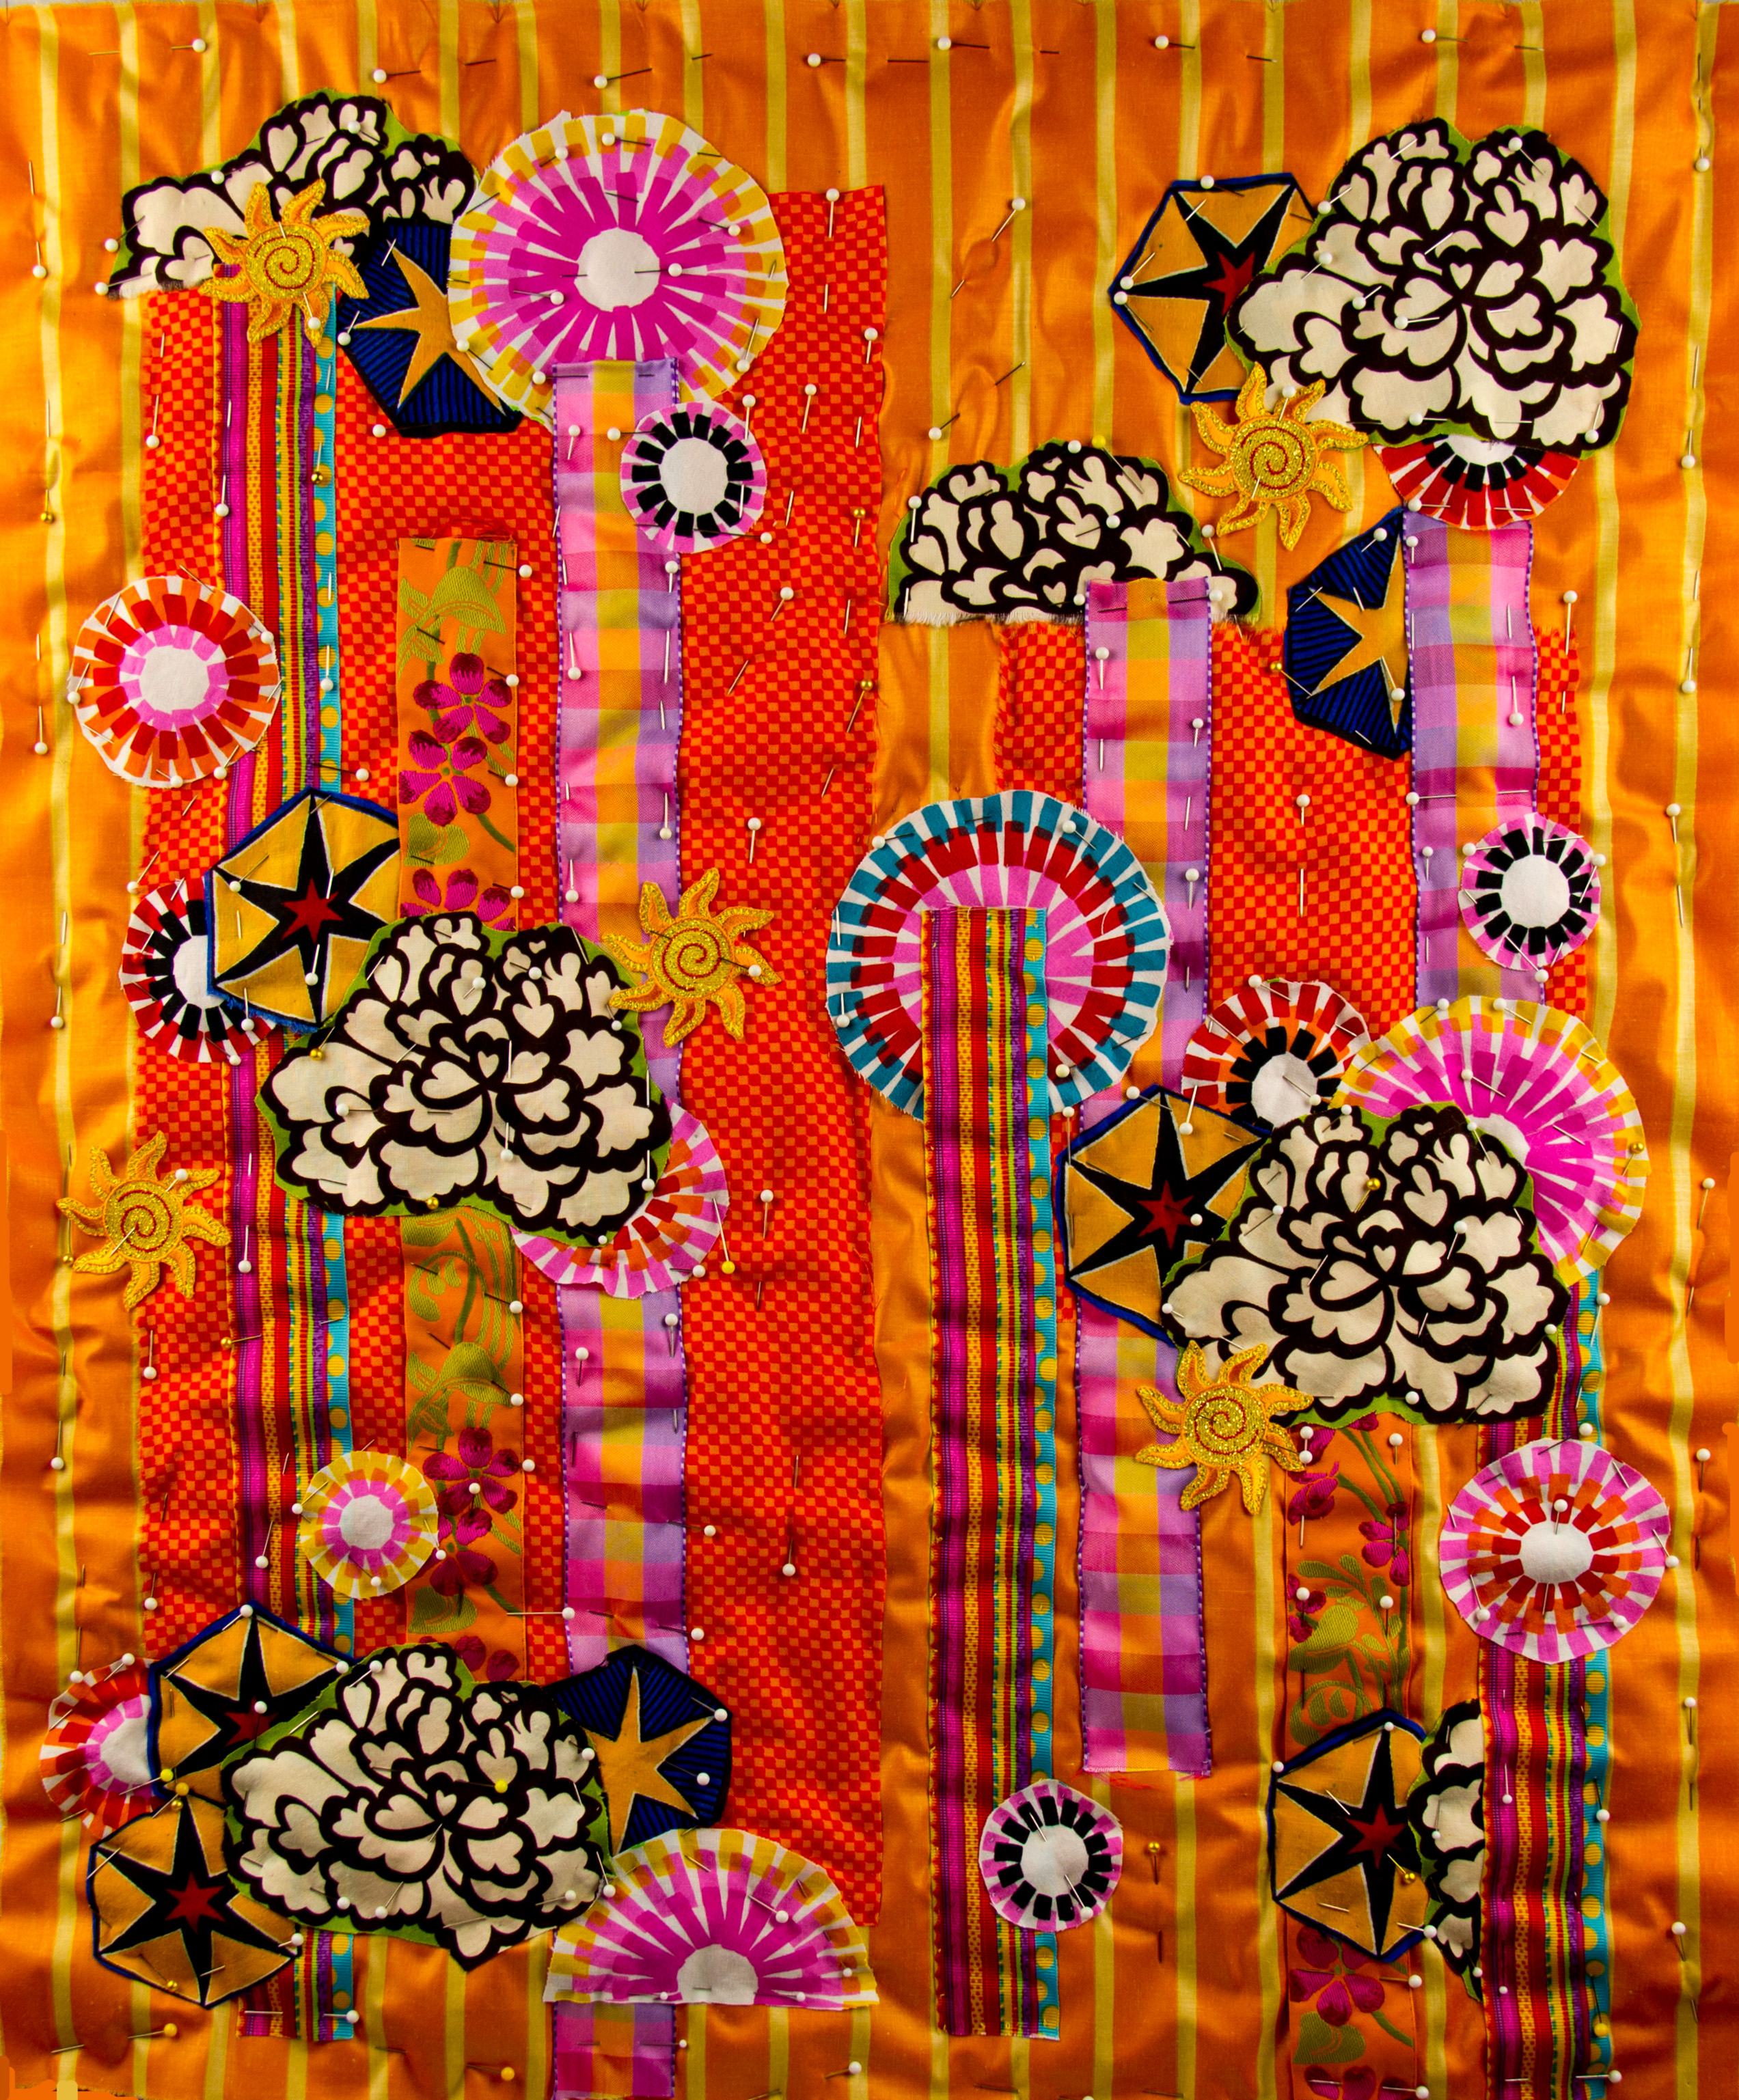
This contemporary art quilt, “Cloud Ribbons” is the first large piece that I’ve cut out since my mother died. If you go back to the blog that I wrote in Feb, 2012, I have a very small room that I use to construct these pieces in, and I just wasn’t up for the mess that is involved after cutting out one of these pieces until recently. In those photo, you can see the fabric motifs and ribbons pinned into place. There are no buttons or beads visible yet, although there are several large plastic boxes of them waiting on the sides for after the quilt sandwich has been made. All of the fabrics shown are either dress-weight cotton or cotton blend fabrics or ribbons except for the orange and beige striped background fabric. While I love it for use in this piece, it has a thicker glaze on the surface, so it was probably intended for upholstery use, perhaps pillows. As a result, sewing and beading through it by hand leads to more resistance than a thinner fabric would. Fortunately, as the piece progressed, I was able to cover a lot of that striped fabric with buttons and large beads, which led to less sewing through it.
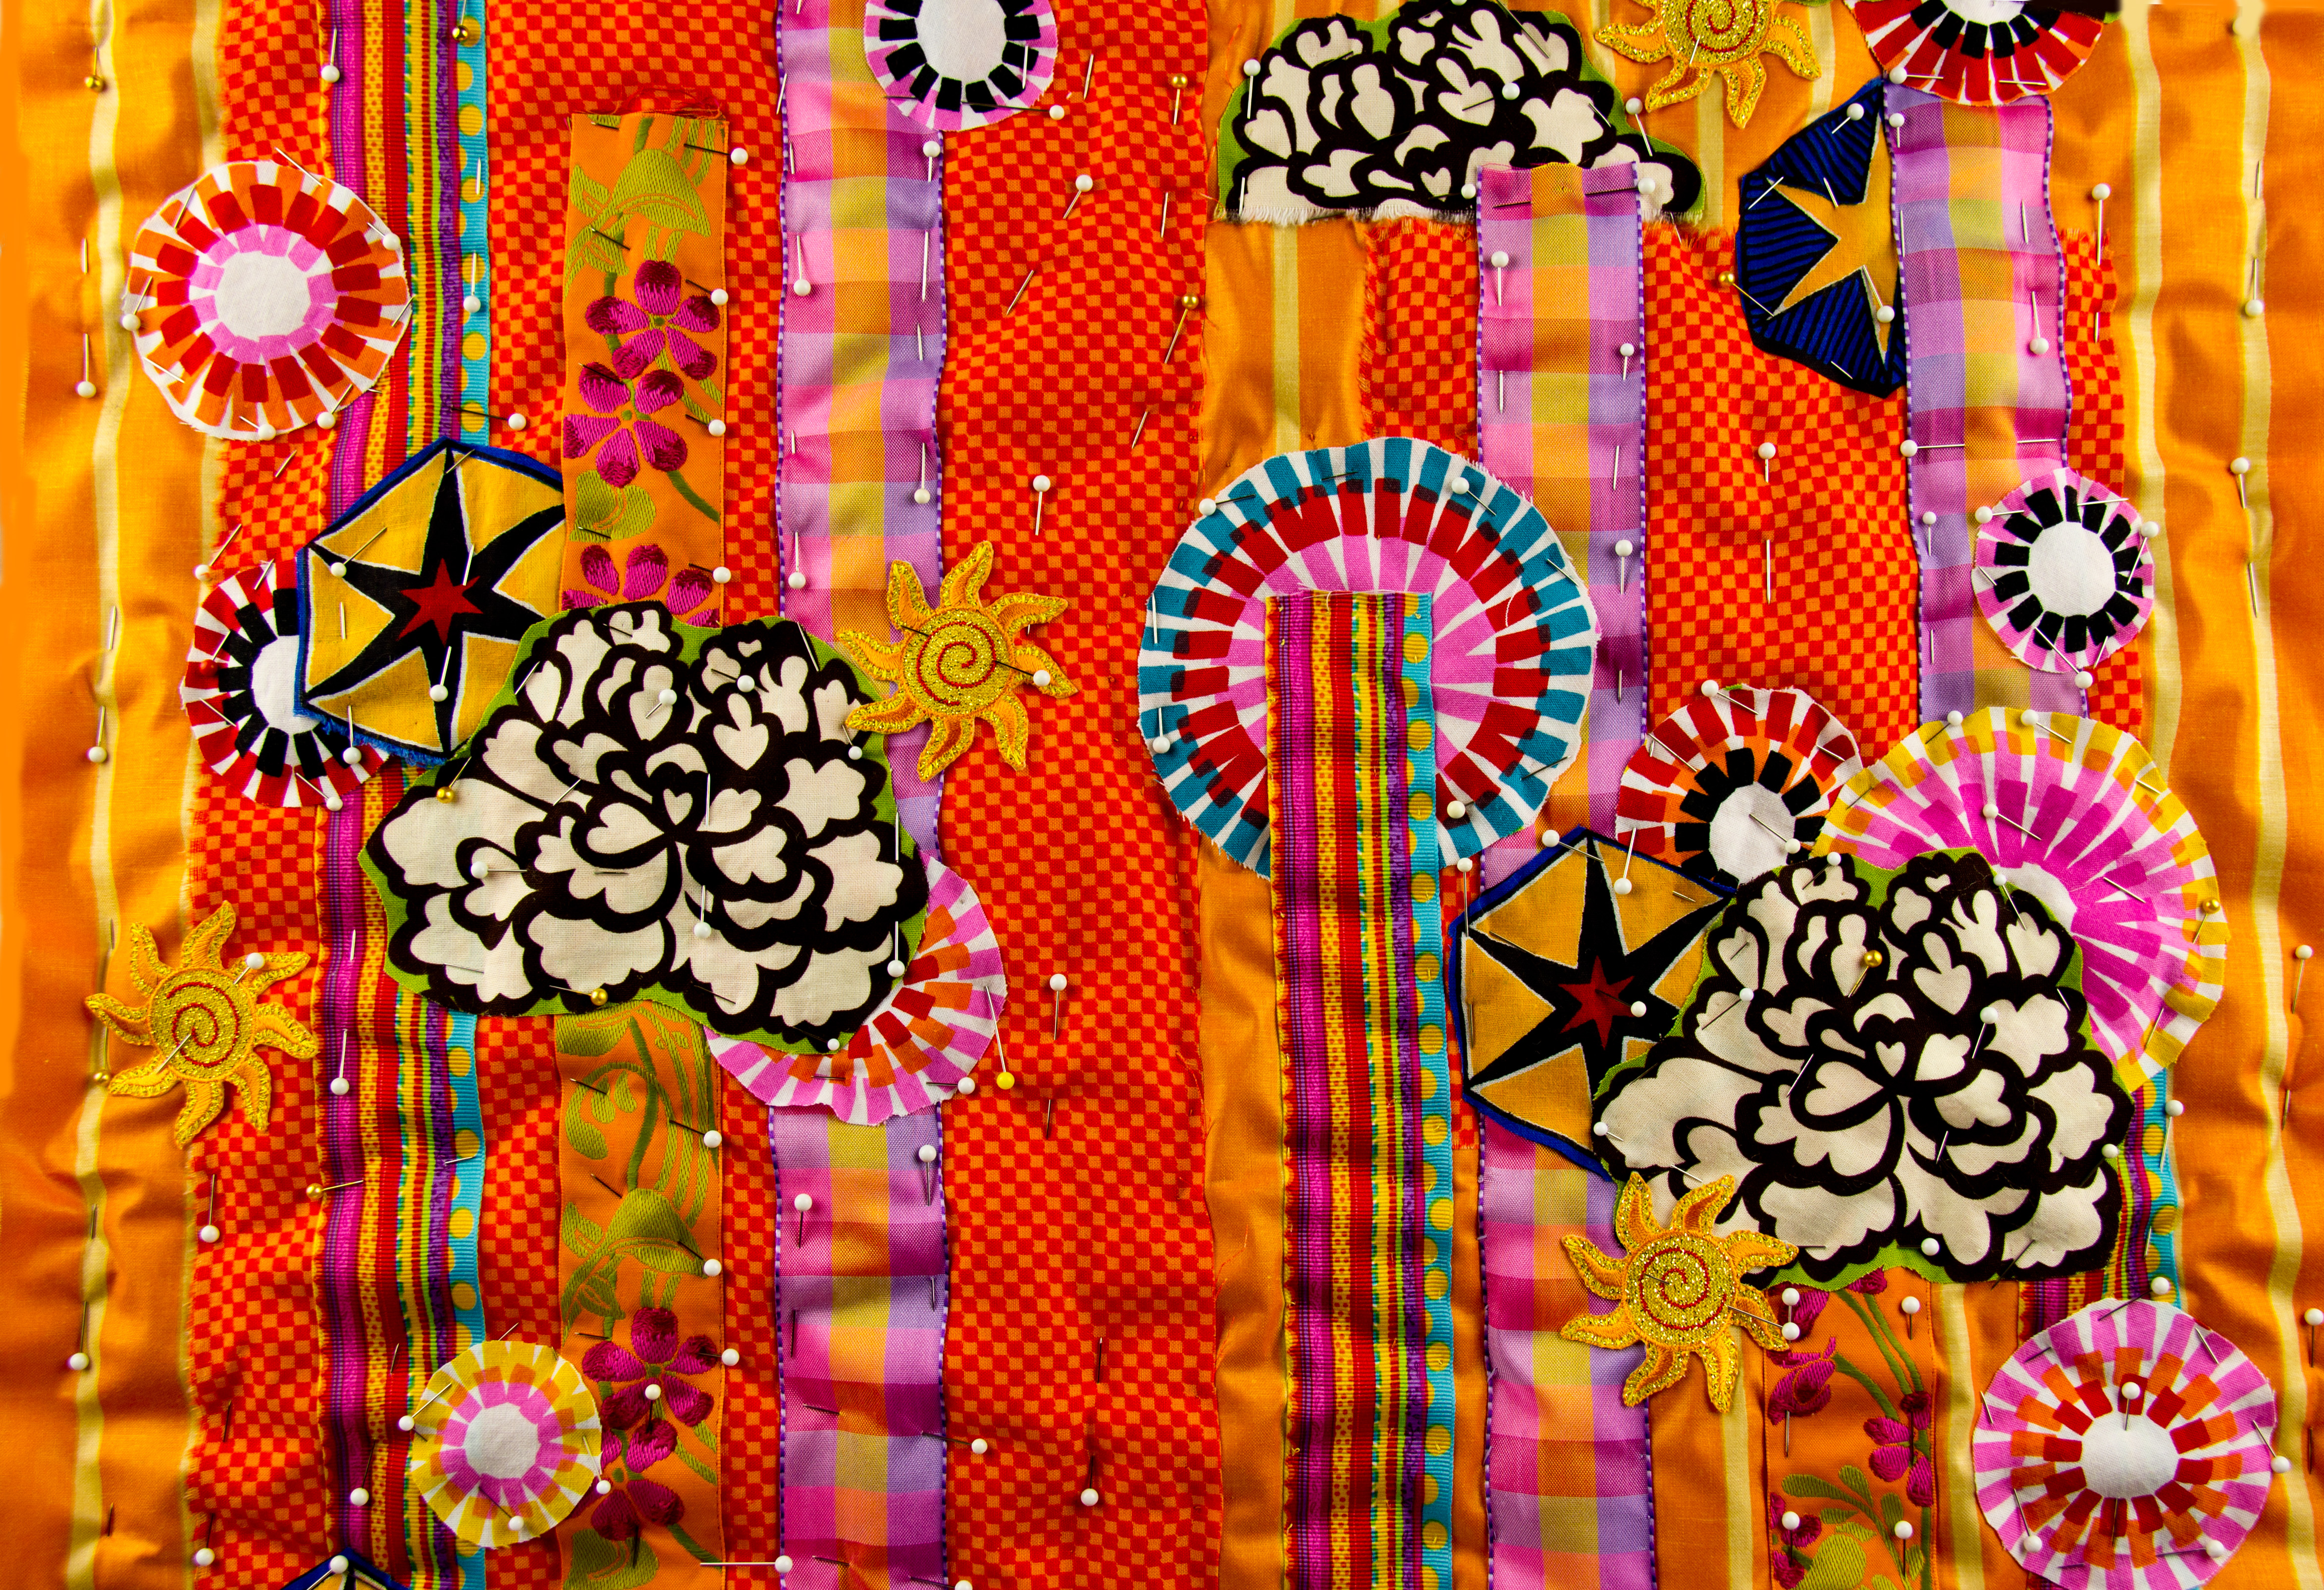 In this detail shot, you can see the large beige and black flower motifs that I used as clouds for this piece. Measuring about 4″ x 3″ ( 10 cm x 7.5cm) they make for a perfect simulation of puffy cumulus clouds. There are also some wheel-like circles with various colored spokes that play off the colors of the ribbons. I often have a basket of spools of ribbons in similar colors that are waiting for a home on a future art quilt’s surface, and that was the case with the two striped ones in this piece. The woven gold with rose colored flowers ribbon is from my favorite ribbon purveyor, Continental Stitchery Trims. (Check out their photos of yummy ribbons. The colors are quite accurate on my laptop screen and the service is great!) I also found some iron-on sun motifs that were hidden in one of my baskets, which were perfect to spread around among the clouds. Finally, there were some large star shields that came from a kid’s action figure fabric. While I wasn’t interested in the figures, there were enough of the stars per repeat to make the fabric worth buying.
All in all, the quilt top, up until this point took about 10 hours to cut out. Most of that time is spent staring at the design and seeing what else needs to be added or taken away. I’m always kind of disappointed when this phase is completed, as there are ever so many lengths of fabric that I’ve pulled out from my stash that never get used. If my studio were bigger, then perhaps I would keep cutting, but there’s only room for one piece at a time on my pinning board. Perhaps someday I’ll get a new studio, but for now, I like what I’m producing in my little space.
How about you? Do you have all of the room that you need to work with everything all organized, or do you lose things in your studio because there’s so much stuff???
Why not leave a comment as to your thoughts on this posting. Please take a minute, fill out the form below or by clicking on the “comments/no comments link” at the top of the posting, and then share your ideas with the rest of us. We all grow when we share our thoughts and impressions, so why not join our growing community of those who appreciate art quilts and textile arts. We’d love to hear from you!… and PLEASE tell like minded souls about this blog! The more readers and contributors, the more I write because encouragement helps the words flow!
You can see more of my art work on my web site at www.fiberfantasies.com (be patient as it loads; it’s worth it), my spiritual healing work at www.transitionportals.com and can find me on Google + , Facebook (for Transition Portals) Facebook (for Fiber Fantasies), and Twitter.
To find out how to buy my art work, please check out “How to Buy my Art Work” in the “Pages” section to the right of this blog.


