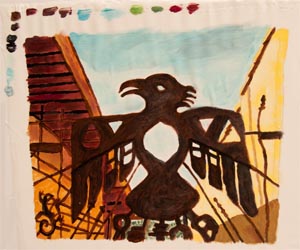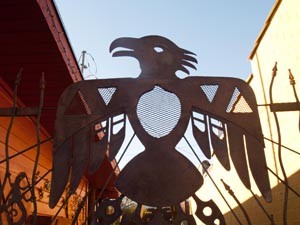
Thunderbird Sculpture – Joshua Tree, Arizona
Nancy Smeltzer, MFA
I recently had the exciting opportunity to take a workshop with an art quilter whose work I have admired for a long time, Susan Brubaker-Knapp. Her work is often featured in the pages of “Quilting Arts” magazine, and she is the host of the popular TV series on PBS TV, “Quilting Arts TV“. To get in the workshop, I found by chance in a local arts newspaper, an announcement that a local quilting organization, the Western North Carolina Quilter’s Guild, was having a symposium in a few weeks just eight miles from where I live. I quickly contacted the organizers, got in Susan’s class, gathered my supplies, and eagerly awaited the first day of a day and half class.
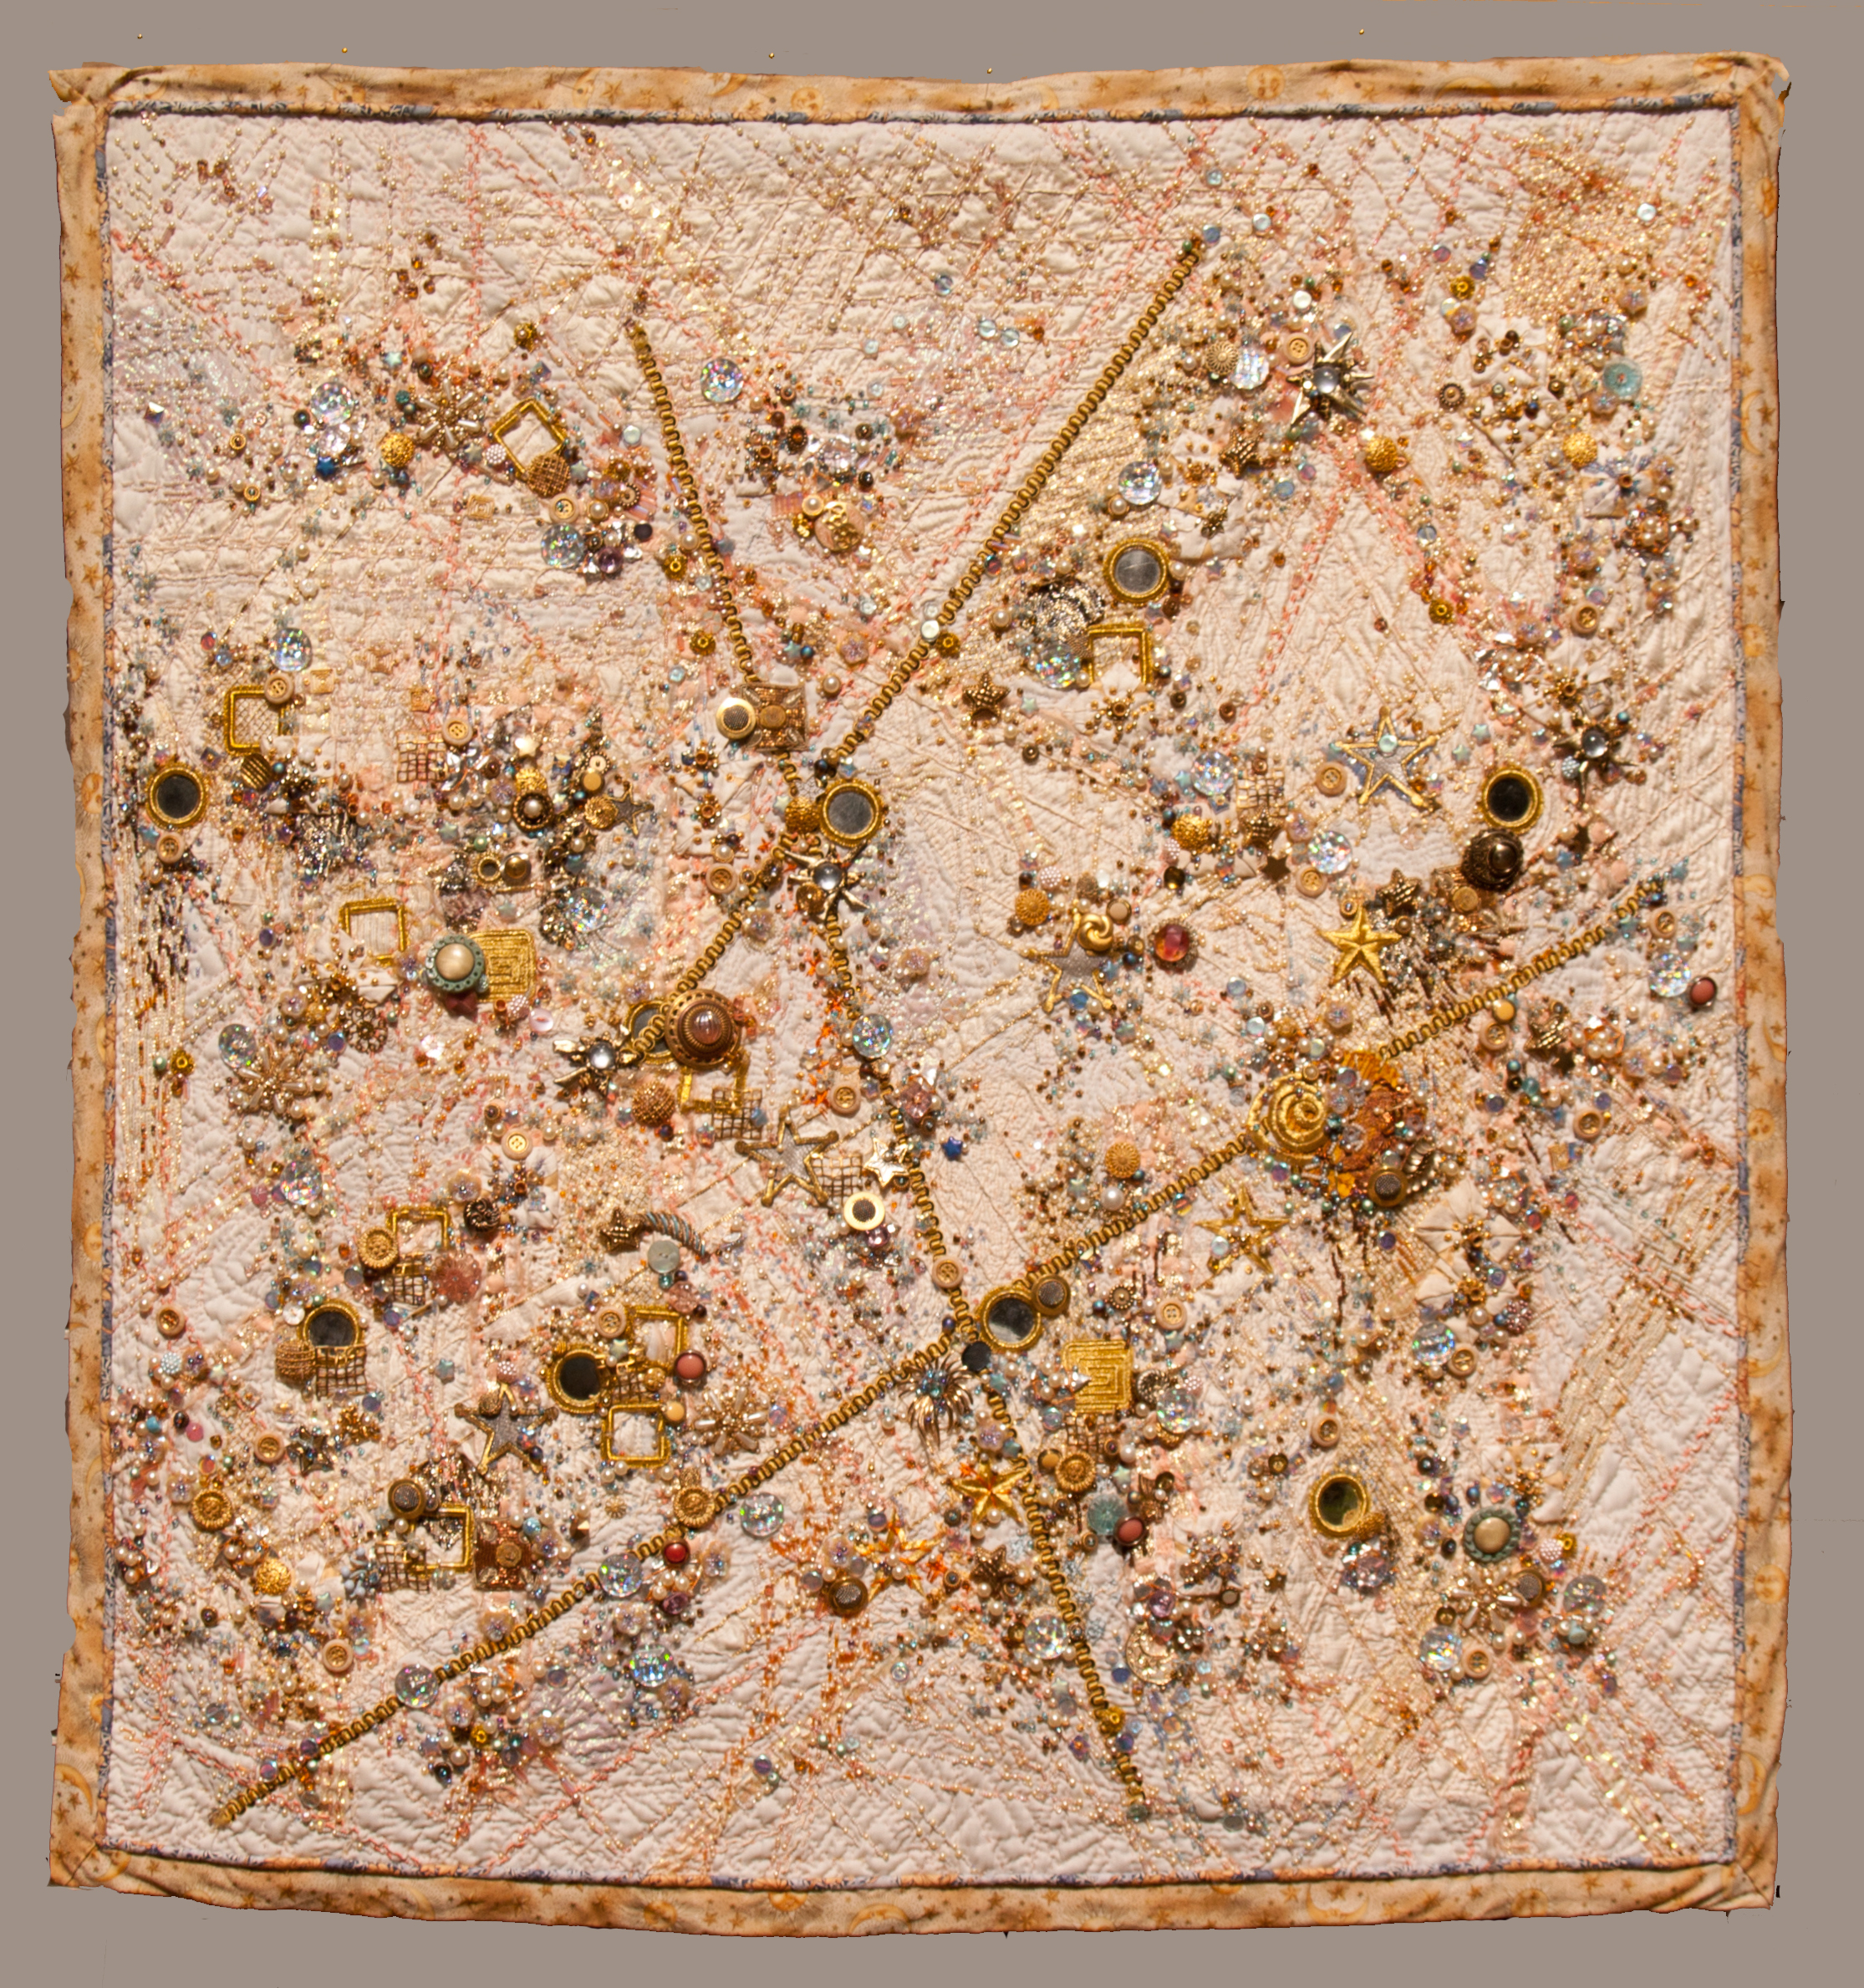
The first thing to do before going was to choose a photograph on which to base my future art quilt. The finished piece would be about 8″ x 10″ ( 30 cm X 25 cm), so what was in the photo would translate in the finished piece pretty much as life size. Susan’s directions said to pick one of our own photos that had light, mid, and dark tones and that was clearly in focus. Normally, I would have chosen one of my floral pictures, as I’m a plant geek, but the iron sculpture in the above that I shot out in Joshua Tree, Arizona a few years ago spoke to me with its strong contrasts.
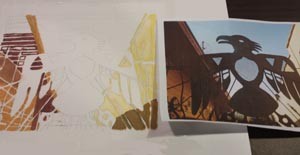
Thunderbird Painting & Photo for Comparison
Once in class, and after narrowing down our photos, we were instructed to tape the one we chose under a piece of special tracing paper with the delightful name of “bum wad”. Used by architects, it’s stronger than regular tracing paper, and can be found in a wide variety of art stores and on-line. Using a fine line black marker,we recorded as much of the details as were needed to make the image onto the tracing paper. Then, the paper was taped under Robert Kaufman’s Pimatex PFD fabric, which is available on-line from a number of sources. I was unfamiliar with it, and was amazed at how sheer it was. It was pretty easy for me to copy my lines onto the fabric (using a mechanical pencil, BTW). However, there were some others in the class who had really dark backgrounds on their phoot, and had to tape their tracing paper and fabric to a window to get the outlines of the different areas in the photo they had chosen onto their own fabric.
Then, as you can see in the above photo of how my work was progressing, each area is filled in with small paint brushes as accurately as possible to match the color in the original photo. Susan really emphasized for us to look closely at the photos that we had and to portray what we saw as carefully as we could. Actually painting what we saw, and not making “coloring book” renditions of leaves, trees, and other natural forms was hard for some, but my sculpture was pretty much all in the foreground in my photo. That made it easy for me to interpret.
The paints that we used were PRO Chemical and Dye Textile Paints. They’re acrylic paints and had an extender to mix in to make the paints move around on the fabric longer. Otherwise, they would have dried in about five minutes. I hadn’t painted anything except faux painting on walls in quite a while, actually years, now that I think about it. Probably the hardest part for me was deciding how much paint to pour out into the compartment of my little artist’s palette, as Susan had said not to dip paint directly out of the jar. If we did that, we ran the risk of contaminating the paint and causing mold to grow in it. I wanted to have enough that once I had mixed a color, I would have enough to finish that area. This desire when I first started caused me to pour out too much paint and waste some. However, wrapping the palette in plastic wrap and having a lid on it before putting it in the refrigerator can lengthen its life span.
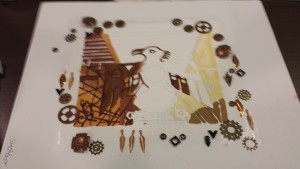
One day’s painting and possible future embellishments
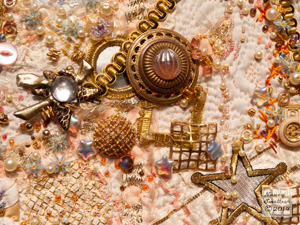
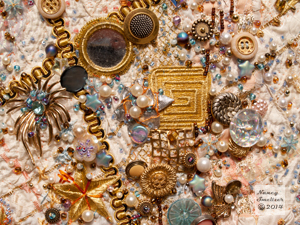
This photo shows what I had done after the first day’s work, (six hours). During that class, I had talked with Susan about how I might incorporate my use of buttons and beads into the piece, as while I wanted to experience her technique, my fingers were itching to start sewing on things. She suggested making a frame on the outside where most of the embellishments could be contained and leaving the center pretty free except maybe for some seed beads, like she does. I was excited about that idea and back in my studio that night, I hauled out a large selections of metal feathers, gears, copper buttons, and washers. I was tickled that I had them all on the ready and wouldn’t have to buy anything new. So, before the second day of class began, I arranged the pieces around the painting and photographed them for future reference, as you see in the above photo.

Completed Thunderbird painting
Then, I put away the metal embellishments and dug into painting. I had about three hours to finish painting in the middle of the bird and the sides of the walls, which was my goal at the start of class. Brown was not a color in our sampler paint sets, and Susan generously let us borrow what was in the big bottles she had brought. I scruffed in the paint, and then the last hour started in on the sky. Before I knew it, I had completed the two closely matched shades of blue that I had mixed for that area, and ta-dah.. I had finished my painting, with half an hour to spare.
Susan had the great idea of outlining each part of my piece with black lines before I stitch with all black thread, and I have yet to do that. Also, the wobbly outside edges of painting that you see in the above photo include a 1/4″ ( 5 mm) seam allowance that will be evened out in the finished piece after I quilt it.
What great good fun I had. Susan is a masterful teacher, and had tons of practical, clear advice on how to proceed with each student. Sometimes, i just put down my paint brush and listened to what she was saying to others as there was always something insightful. As a teacher myself, I’m really picky when it comes to being taught, so if you ever get the chance to be in one of Susan’s classes, by all means, do so. You’re in for a treat!
I often find that I learn the most in classes outside of my usual medium. This was a painting class, and I had to learn about how much to mix and blend with this brand of paint. What have you learned from other media?
Why not leave a comment as to your thoughts on this posting. Please take a minute, fill out the form below or by clicking on the “comments/no comments link” at the top of the posting, and then share your ideas with the rest of us. We all grow when we share our thoughts and impressions, so why not join our growing community of those who appreciate art quilts and textile arts. We’d love to hear from you!… and PLEASE tell like minded souls about this blog! The more readers and contributors, the more I write because encouragement helps the words flow!
You can see more of my art work on my web site at www.fiberfantasies.com (be patient as it loads; it’s worth it), my spiritual healing work at www.transitionportals.com and can find me on Google + , Facebook (for Transition Portals) Facebook (for Fiber Fantasies), and Twitter.
To find out how to buy my art work, please check out “How to Buy my Art Work” in the “Pages” section to the right of this blog.